For those of you who follow us on social media, have been to the studio in the past 6 months, or have called up for a chat and heard the echoes of a building site in the background will know we’ve been undergoing a studio refurbishment. We’re so close to the finish line we can almost taste it!
We’ve been planning this for some time now and over the last year we felt we were in the right place to bite the bullet and go for it. We’ve still got a few loose ends to tie up but the majority of the works were completed, as planned, by Christmas this year.
A change was coming
The last time we refreshed the studio was about 15 years ago. Our ‘shop front’ was looking a bit tired to say the least. We invest a lot of time and money in the team, they are our most important asset after all, so having a fresh, modern working environment would benefit everyone working here not just impress clients and visitors.
Our opinions matter
At DKA, all our suggestions are reviewed and considered. Our interim and annual reviews allow us to bring up any ideas we have to make studio life better and we have been discussing ways to bring the studio up to date for a while. Recently, Designbase gave us a complete 3D scan of the building which we could open in Revit. Having a precise 3D model really encouraged us to have a play with how we could change the studio to suit our needs and it all took off from there.
Reflecting what we do
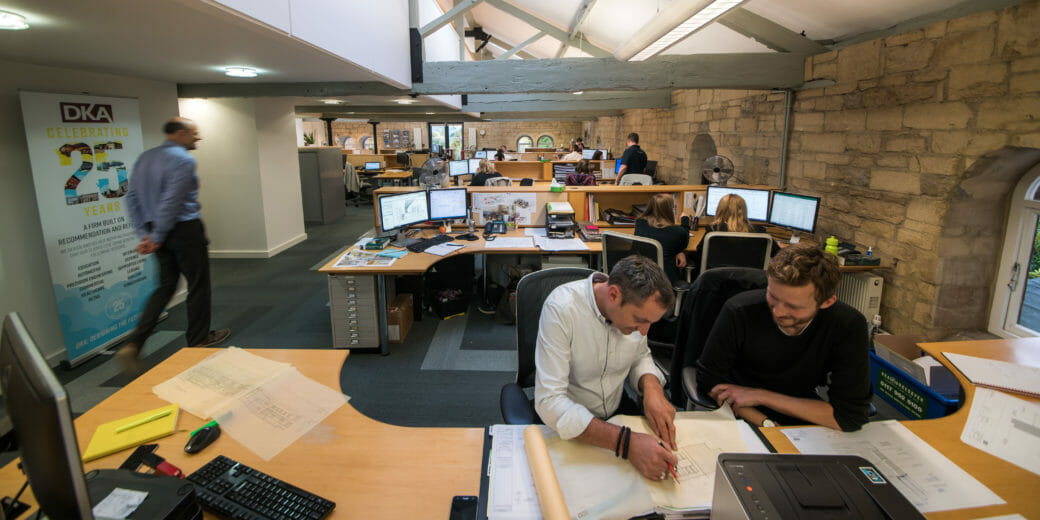
We love working in our canal-side studio but we felt the interior wasn’t reflecting the services we provide. We have 22 talented team members whose experience ranges across all forms of architecture, BIM and interior design. We create exciting creative spaces for our clients so it seems only fair that we have our own exciting creative space too! Plus, we love having people come to visit us, so we wanted the studio to feel like a place you’d want to come for a meeting or for a cup of tea and a catch up. It was time to stop relying on the view of the canal and Bath beyond.
Our studio was looking very tired to say the least and that in its self wasn’t good for meeting our creative motivators. The carpets were a bit stained and… blue. The furniture was a bit worn, and ….. yellow and the beams were a bit dusty, and… red. This colour scheme might be wholly appropriate in one of our primary school designs but we felt the studio was missing a considerable amount of architectural pizzazz!
So, where do you even start when redesigning your workspace?
It started with a plan… of the brain-storm-type-plan, the architectural drawing type plan and the formidable excel spreadsheet Gant chart combo type plan! Once the structure of the proposed studio was drawn up, we could start to think about the interior design, materials, colours and budget.
You can’t make an omelette without breaking some eggs!
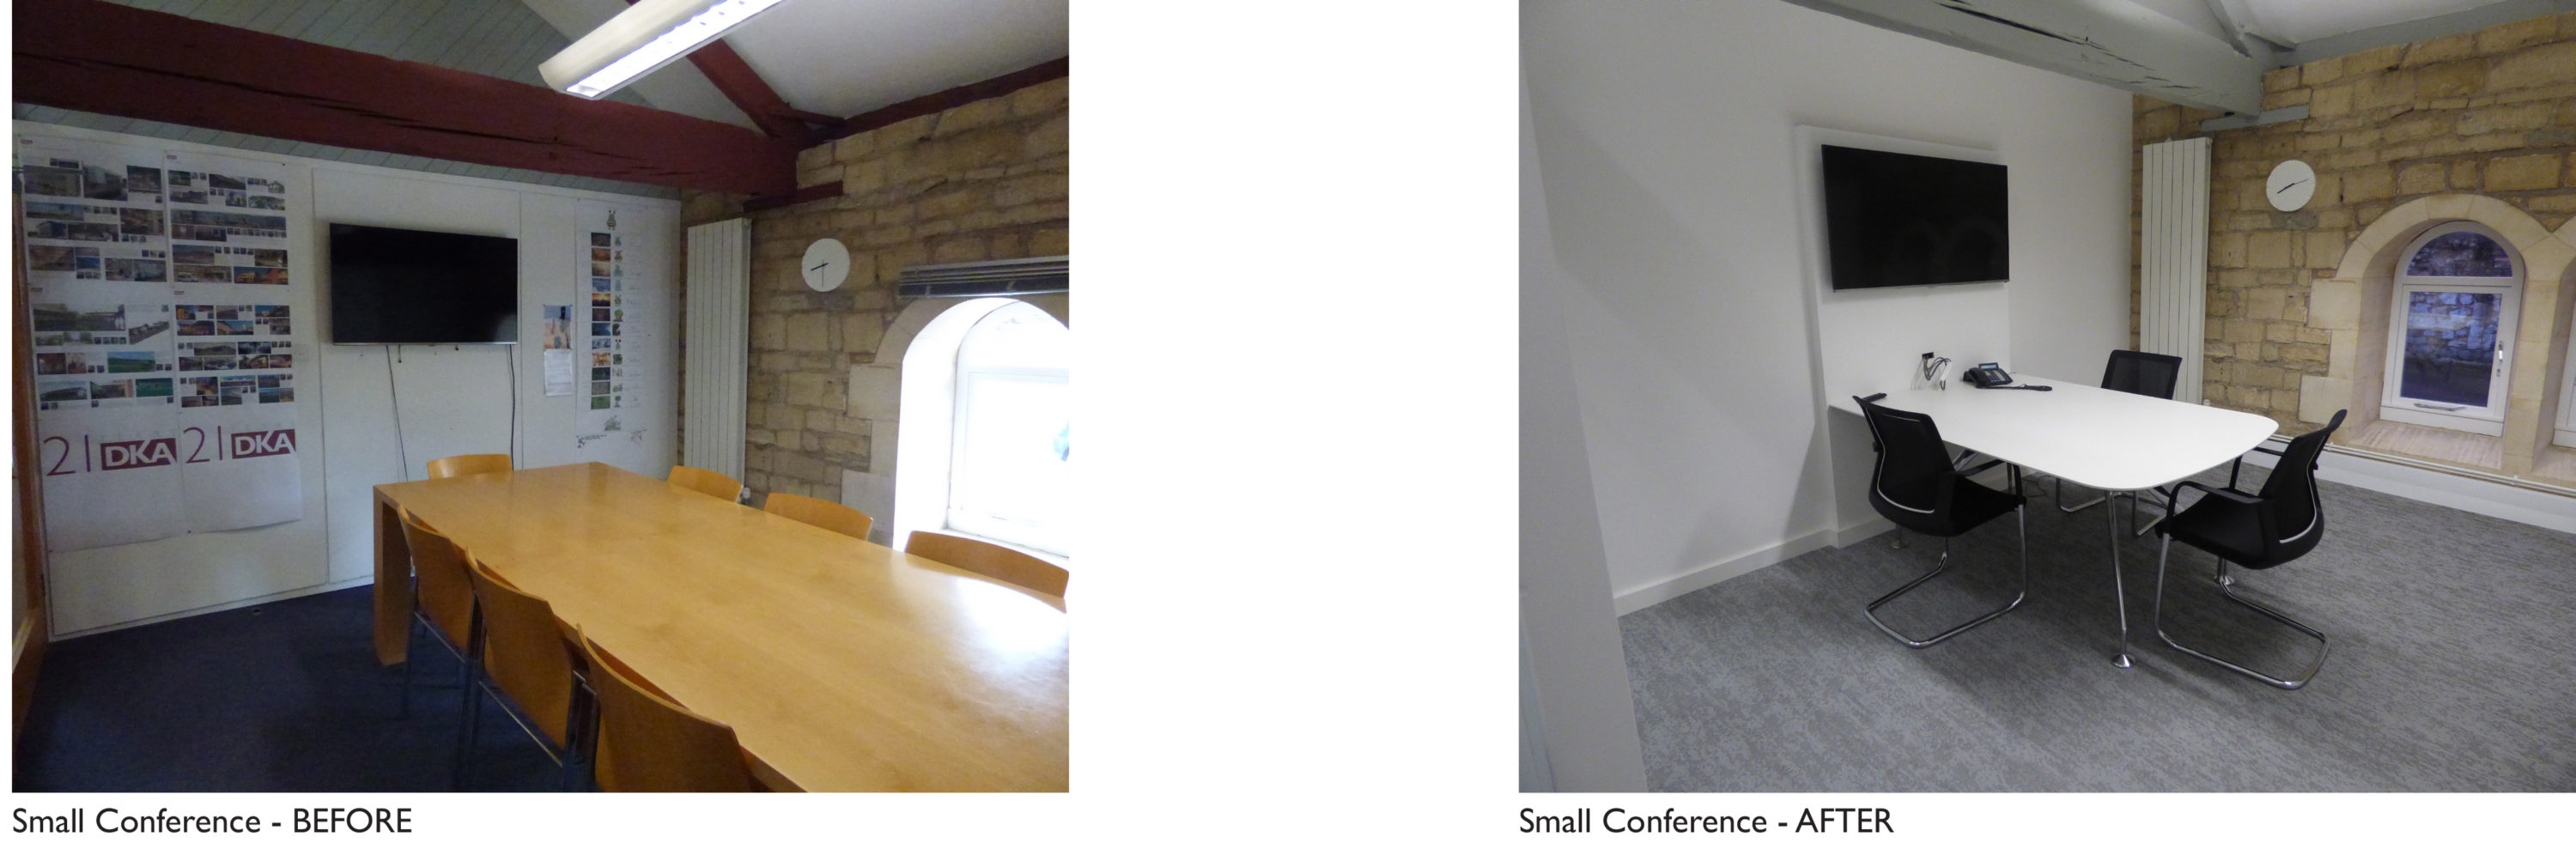
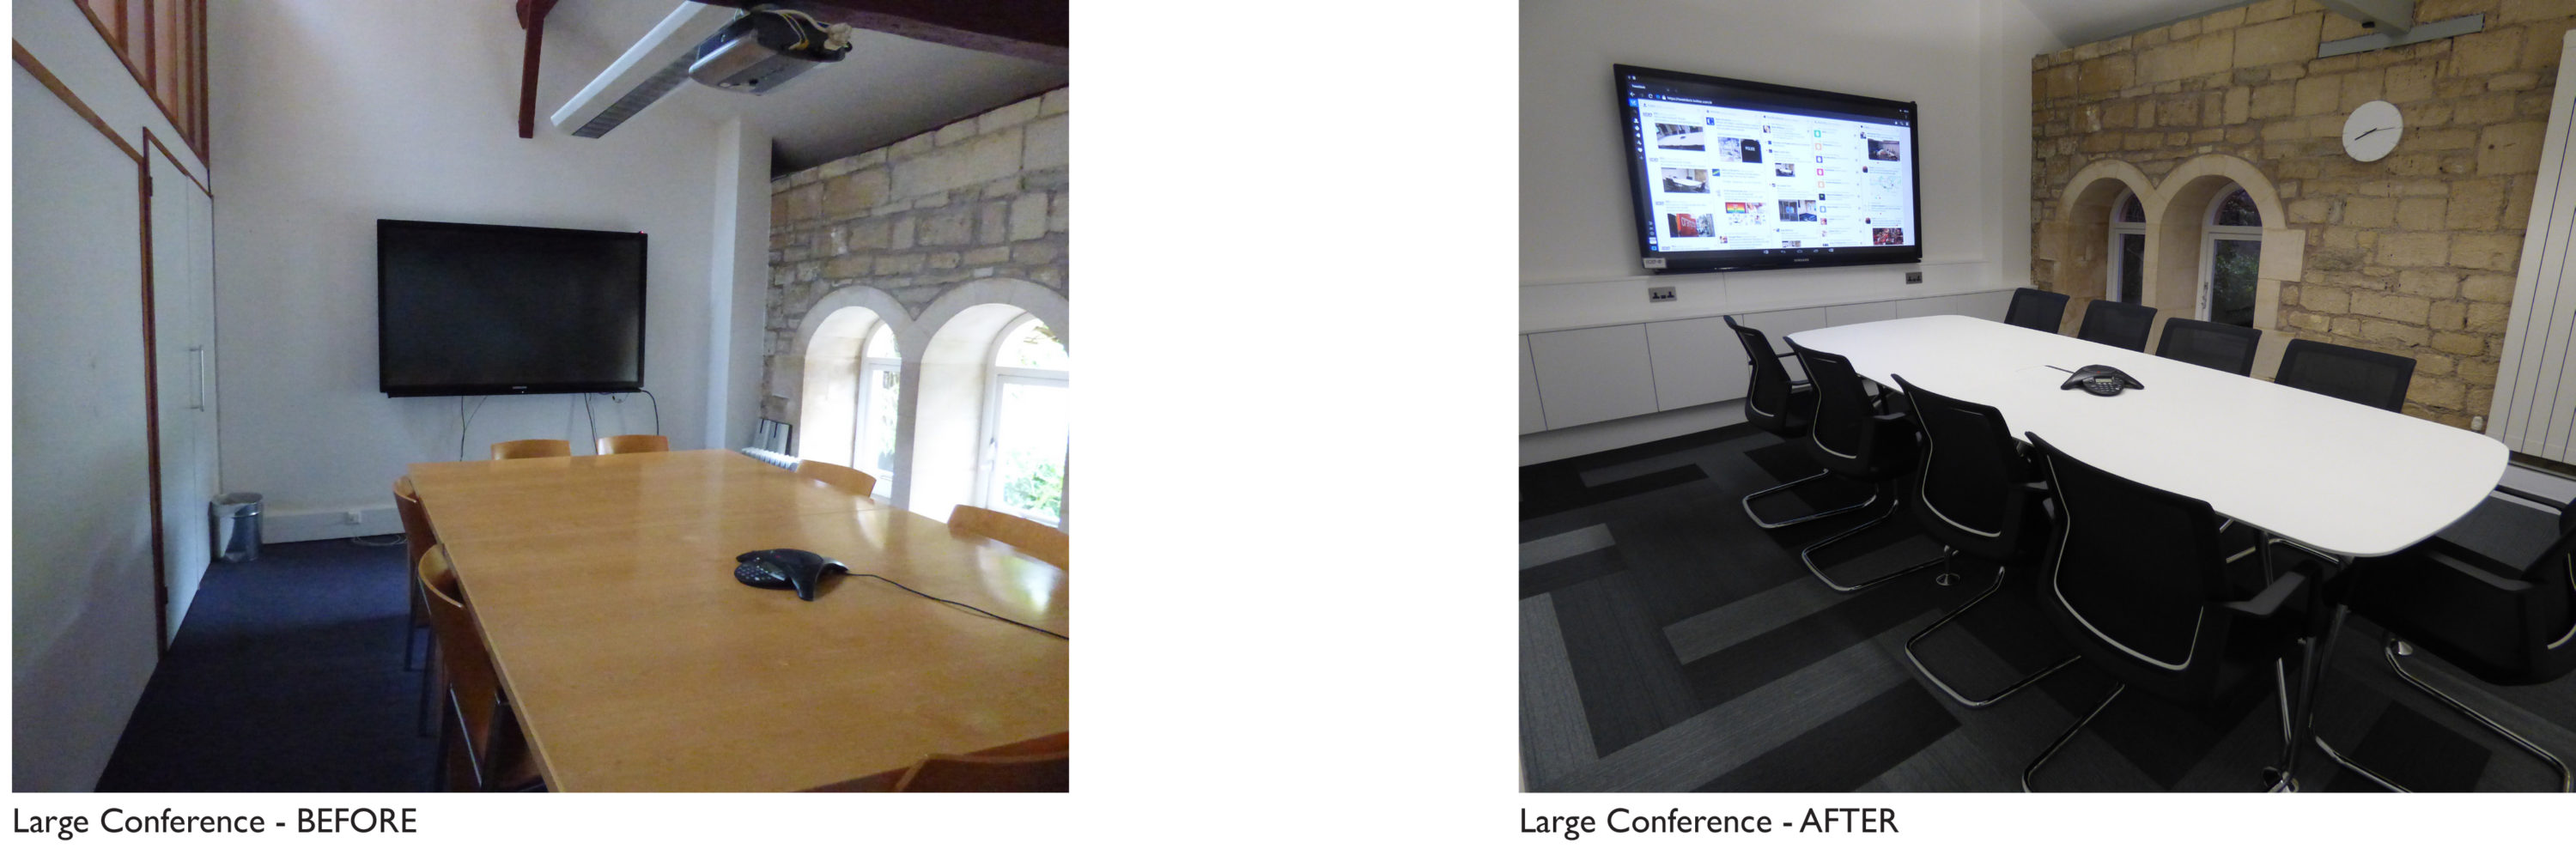
To make the first dent in the works, we started in the conference rooms – we desperately had to get rid of the wood tongue and groove on the walls, not to mention the woodchip and hessian style wallpaper, so the first phase consisted of over-boarding, plaster-boarding, plastering and painting the two conference rooms. Better acoustic privacy was also essential.
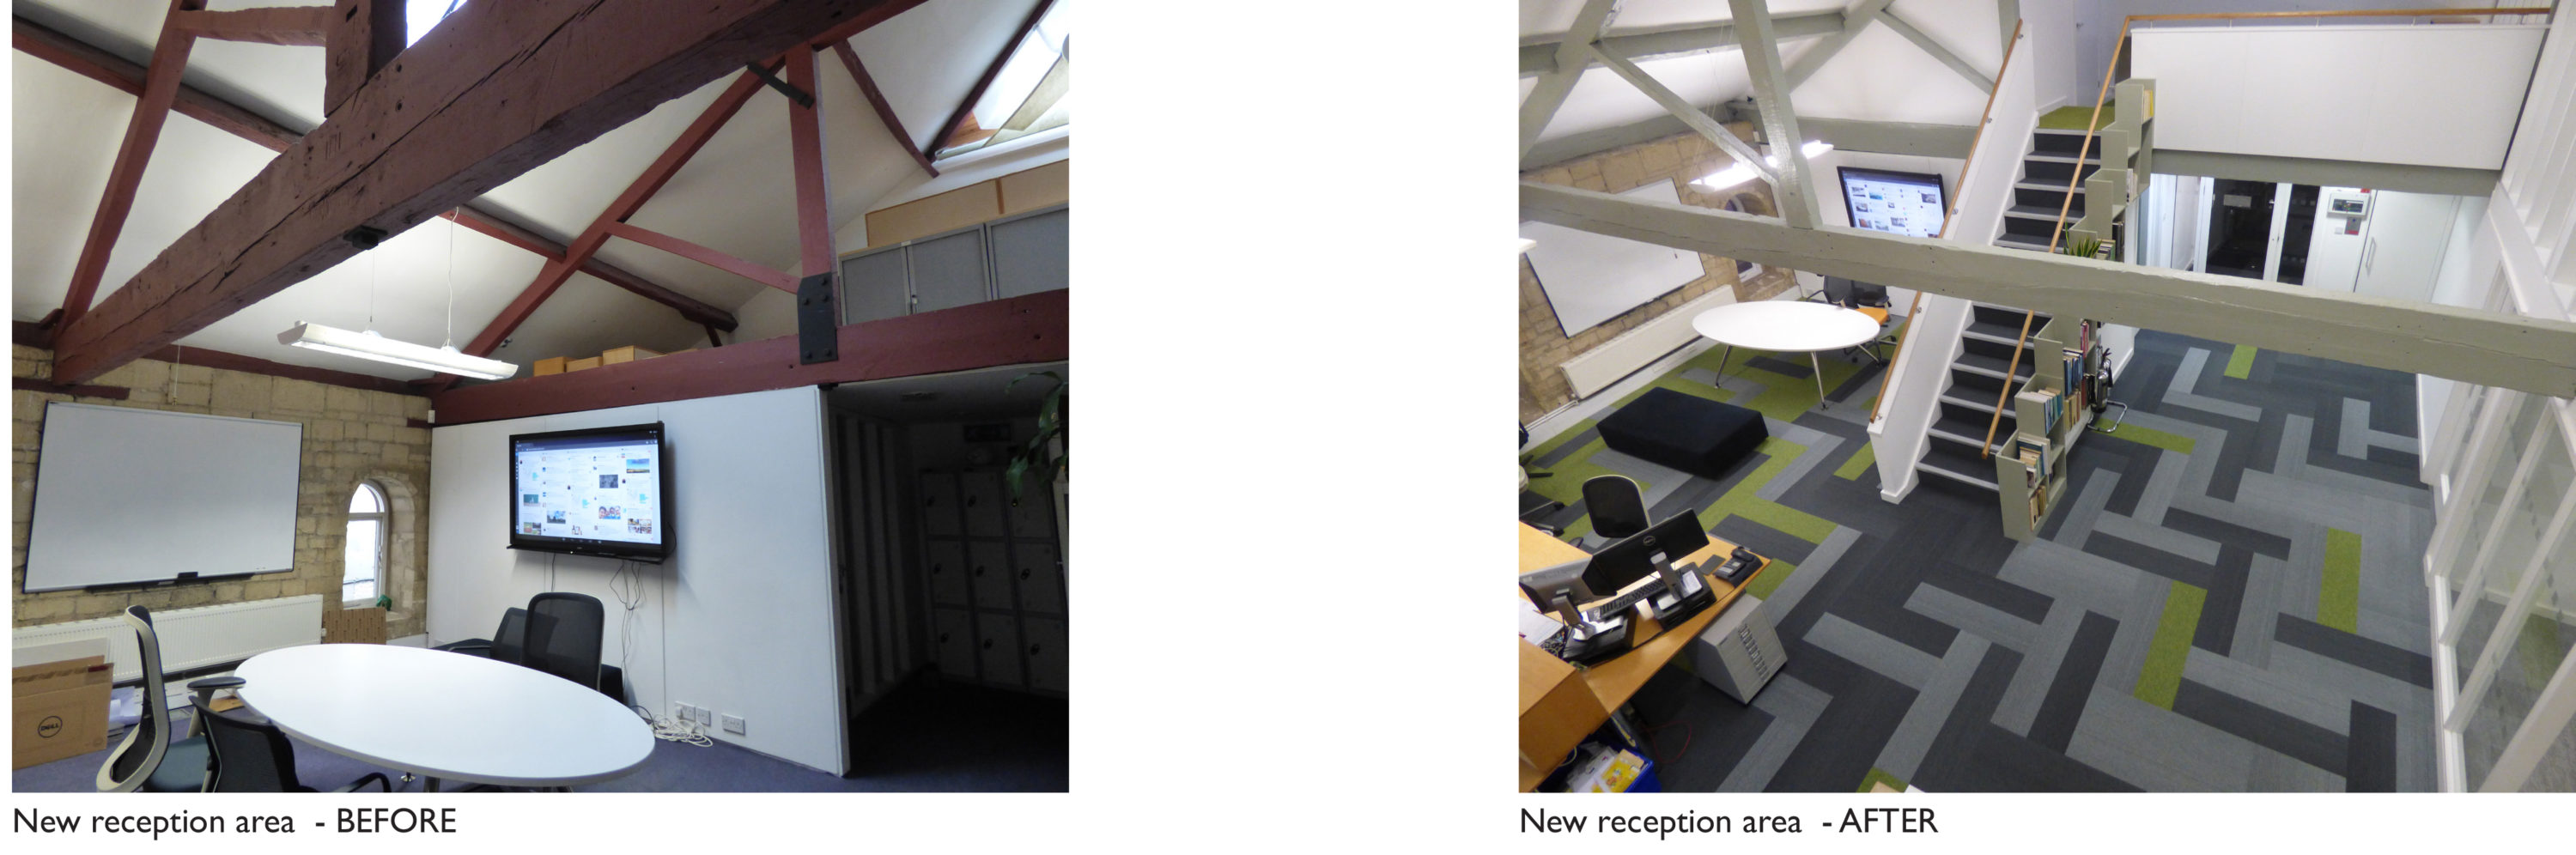
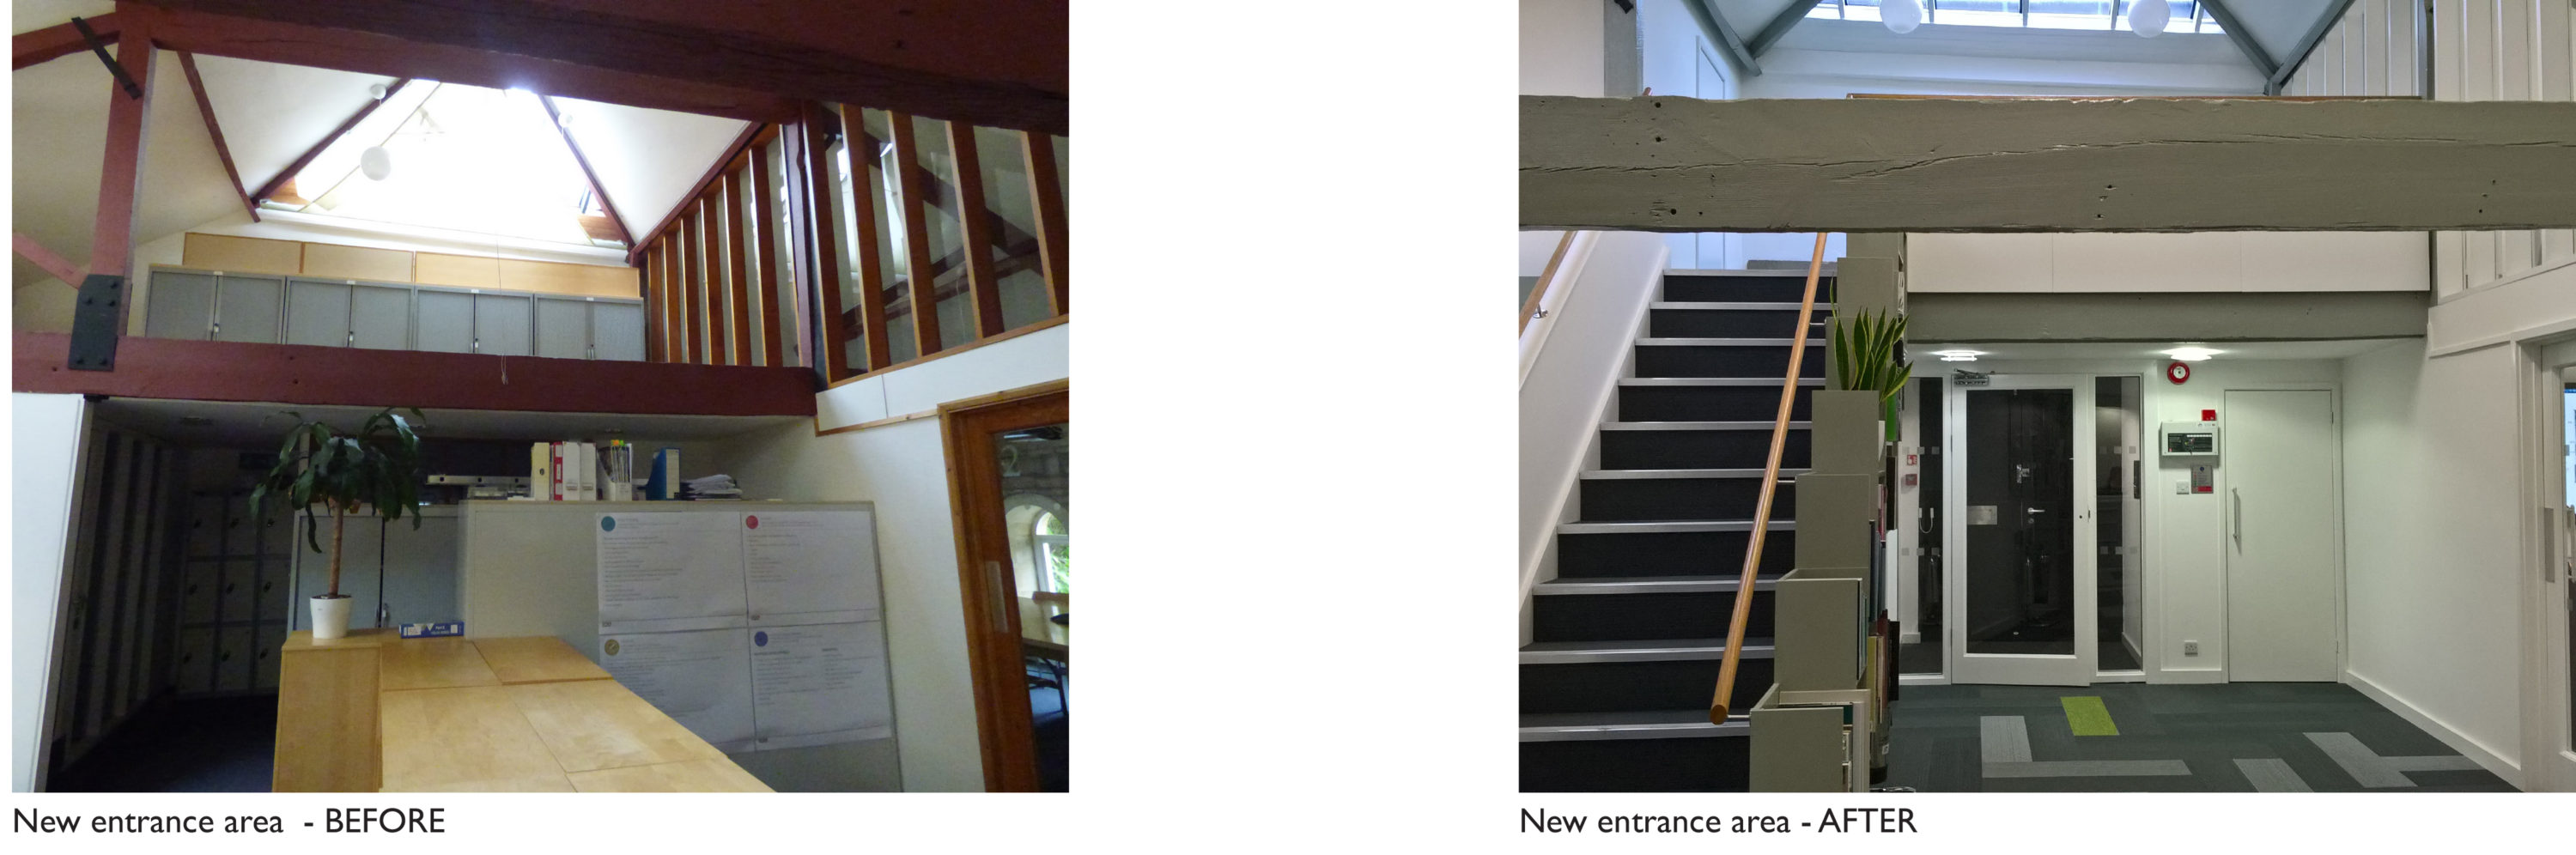
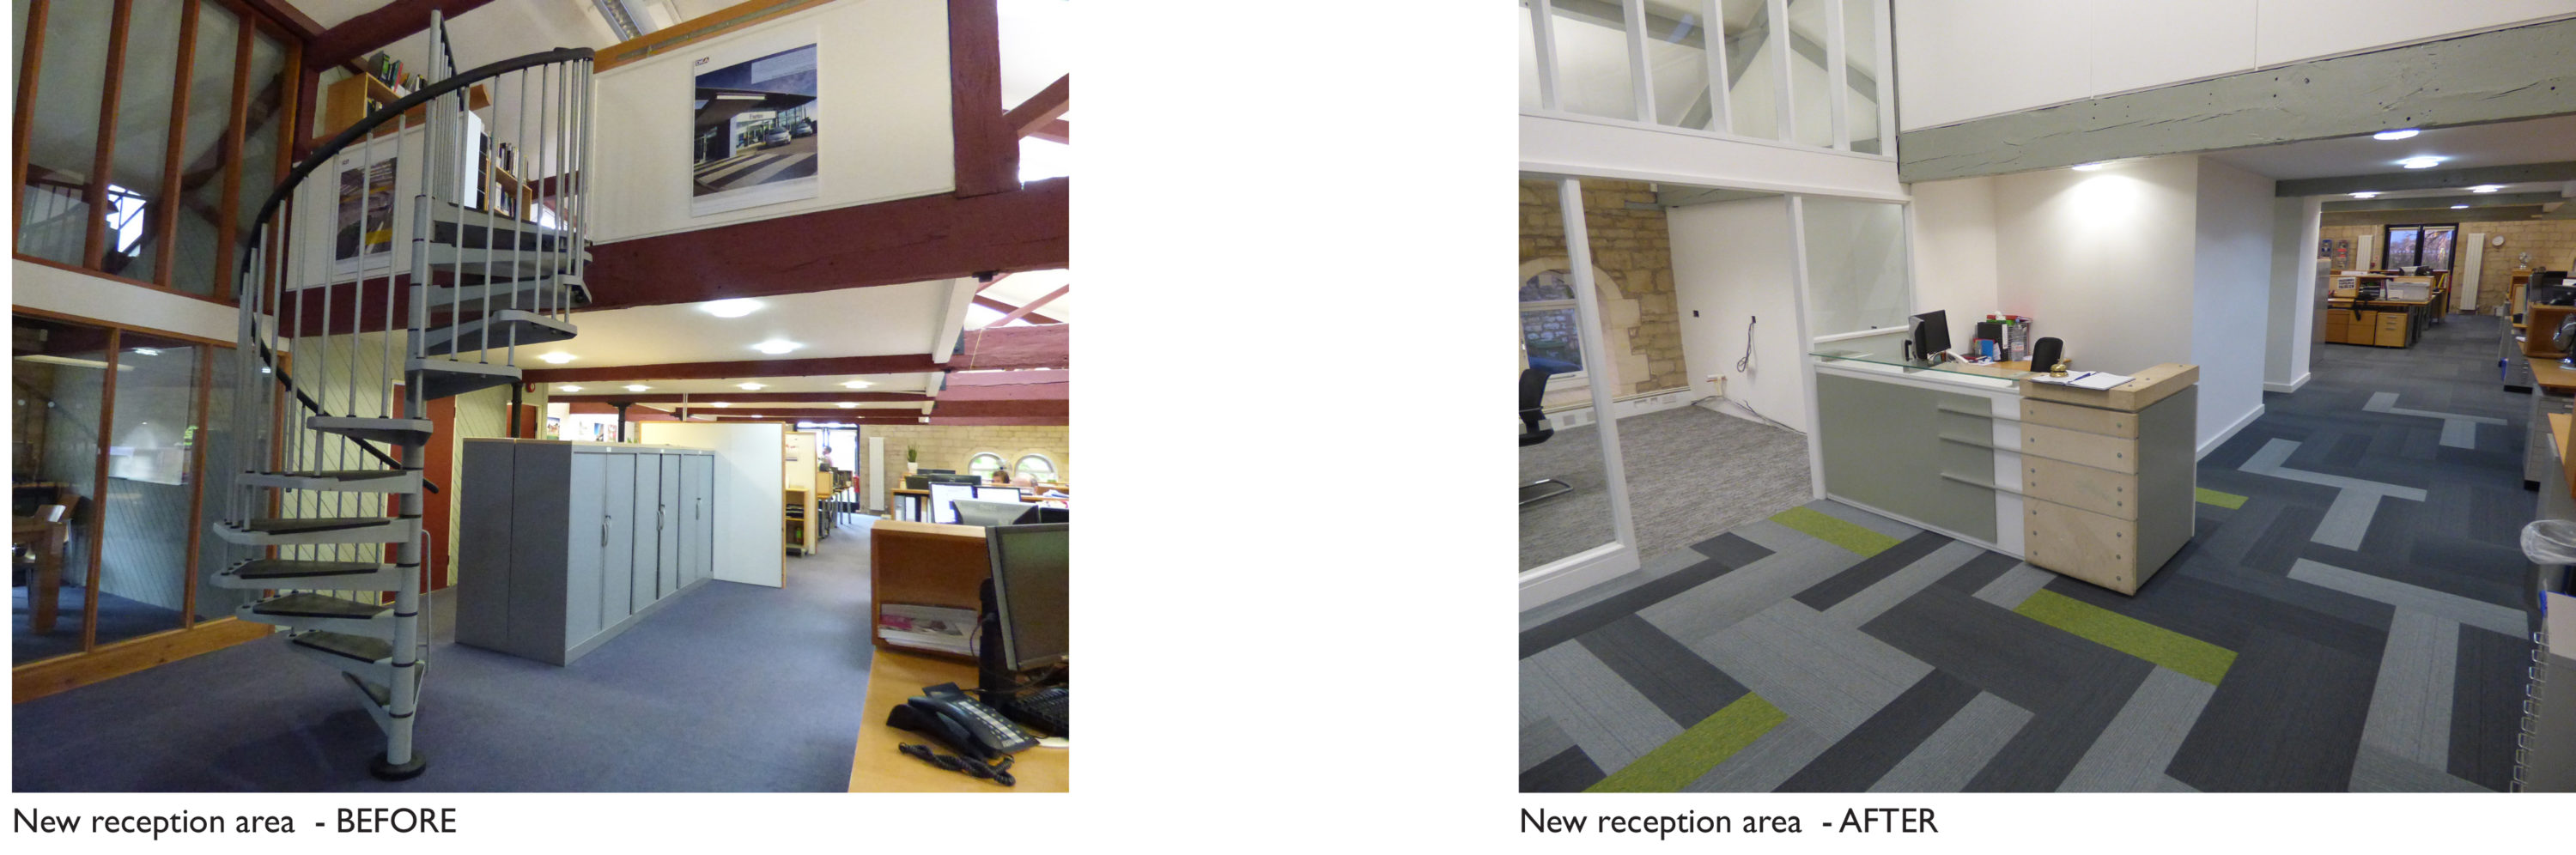
Next, we reinstated a neglected mezzanine which was previously being used for storage, this included having a bespoke staircase made and fitted. The whole entrance area had a reconfiguration to allow for a more impressive front of house and crit space.
Following on from this we overboarded the whole floor ready for new carpet. We all endured shuffling our work-stations, Jo often arriving at work to find reception wasn’t where she had left it the night before! Once all the noisy power-tool focussed works had come to a close, we were then ready for the painters, closely followed by carpet fitters and we recently took delivery for our new conference room furniture!
We’ve still got ironmongery to install before we can officially start using our new front door, but we’re thrilled with our new look studio and welcome you all for a nose around.

If you’re thinking of refurbishing your workspace (which we think you should, its such fun!) We have come up with 5 top tips:
- Make a team and talk!
Team work makes the dream work. With a team of 22 we couldn’t have everyone’s fingers in this particular pie and we all know design by committee equals fail, so make sure you create a team of creatives, do-ers, key decision makers and ideally someone good with accounts!
The team doesn’t just consist of us DKA’ers though, we appointed the best carpenters we knew, the best plumbers and electricians. We appointed highly recommended painters and carpet fitters and selected furniture from suppliers we have used in other projects so know it is of a high standard.
- Know how your space works
Every work space is different. We wanted our studio to be client facing and more open than it has been, so reinstating the street entrance as the main entrance was a definite. We’ve also created a new meeting space for casual meetings and a more defined crit space. The majority of the desked seating has remained as it is, because, well, it works!
- Keep everyone in the loop
It’s good to keep everyone, including colleagues, neighbours, contractors, landlords and reps in the loop of what you’re planning so everyone is singing from the same hymn sheet and there is as little confusion or misunderstanding as possible.
- Don’t get disheartened if things look like they’re moving slowly.
For this tip I highly recommend taking photos as you go, so you can look back and remember how it used to be and have a ‘look at how far we’ve come’ moment. Even if it was just a lick of paint or the removal of a wall, it’s amazing how quickly we adapt to change.
- Don’t lose momentum
There is no denying it’s been a lot of work, and there are still bits to do, but the best thing we did when undertaking the refurbishment was to (very Britishly) keep calm and carry on!
We scheduled the plasterer to come in as soon as the new walls were erected, and scheduled the painters to come in as soon as we knew the carpentry work would be complete. We did have a hold up in the schedule as the painting took a lot longer than predicted – mainly due to the fact we were operating the whole time so working around everyone made it a bit harder. Luckily, the carpet fitters were great and really flexible so didn’t mind us postponing them by 3 weeks.
Finally, schedule new furniture to come at the end for that final ‘WOW! Look how it’s all come together’ moment!
Of course if you would like help with re-designing your workplace interior why not ask some professionals to design an outstanding space for your team, we’re really good at it!